1.第一个页面
现在我们将第一个页面添加到应用之中,我们将其放到resources/templates中(取决于配置数据)
spring.thymeleaf.prefix=classpath:/templates/
然后建立模版文件
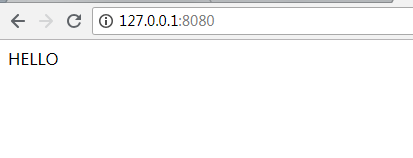
<!DOCTYPE HTML>
<html xmlns="http://www.w3.org/1999/xhtml" xmlns:th="http://www.thymeleaf.org" >
<head>
    <meta content="text/html;charset=UTF-8"/>
    <title>hello</title>
</head>
<body>
    <div th:text="|HELLO|">123</div>
</body>
</html>
2.修改控制器
我们需要导航至我们新建的视图,而不是简单的文本,为了完成该功能,需要移除注释@ResponseBody
这样做完之后,如果再次返回字符串的话,就会告诉SpringMVC要将这个字符串映射为视图名,而不是在响应中直接展现特定的模型
package masterSpringMvc.controller;
import org.springframework.stereotype.Controller;
import org.springframework.web.bind.annotation.RequestMapping;
import org.springframework.web.bind.annotation.ResponseBody;
@Controller
public class HelloController
{
    @RequestMapping("/")

    public String hello()
    {
        return "hello";
    }

}
在本例中,控制器会将用户转移到名为hello的视图中,viewResolver接口会将这个名字与我们的视图进行关联.